TAN ZI CIN'S E-PORTFOLIO


COMPUTER APPLICATION
TUTOR: MR KOH JING HAO
PROJECT 1 - MODELING
PROJECT 2 - RENDERING
PROJECT 3 - ANIMATION
WORK IN PROGRESS

Insert floor plan image into AutoCAD for tracing

Floor plan and elevation have been completed traced in AutoCAD

Floor plan and elevation have been imported into Rhinoceros 3D.

After elevation rotated, the wall were extruded from floor plan and follow the height according wall of elevation.

The wall were extruded while shape of roof were extruded according the elevation.

A door frame was made by creating a box and make a hole.

the design was completed with door frame and windows frame.

To make a contour, rectangular shapes boxes were made.

After finish the contour by boxes, drape was put on to make a contour.

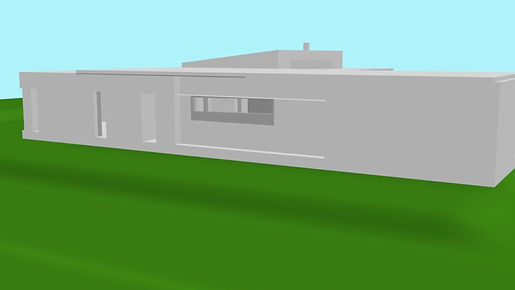
Contour completed.

Completed drawing was imported into 3DS MAX for rendering.

Perspective 1

Perspective 2

Perspective 3
Perspective 4

Perspective 5
CLASS EXERCISE

Church of Light by Tadao Ando.
PROJECT 2A EXTERIOR RENDERING WORKING PROCESS


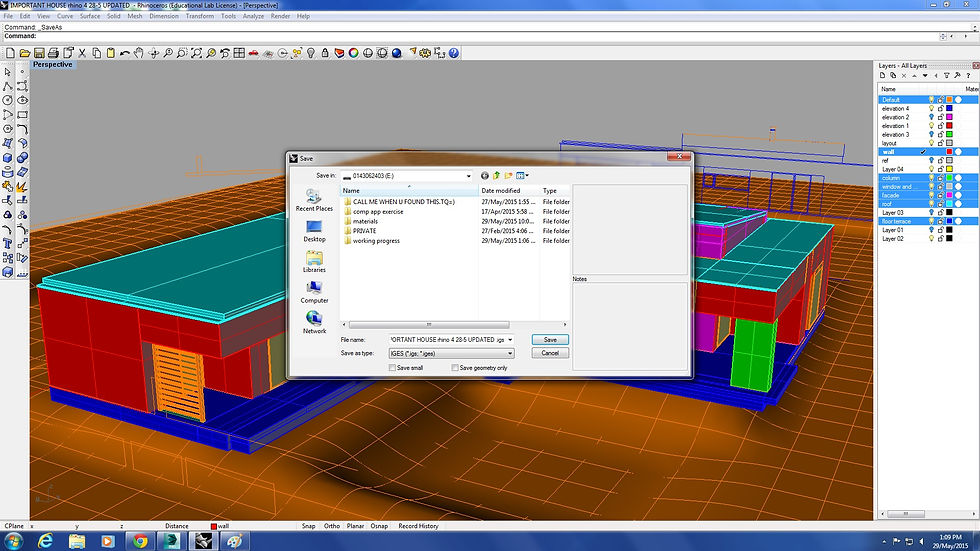
Match all the layer of the model in Rhinoceros 3D and delete all the unnecessary lines, then export the file to IGES format to render in 3DS MAX.

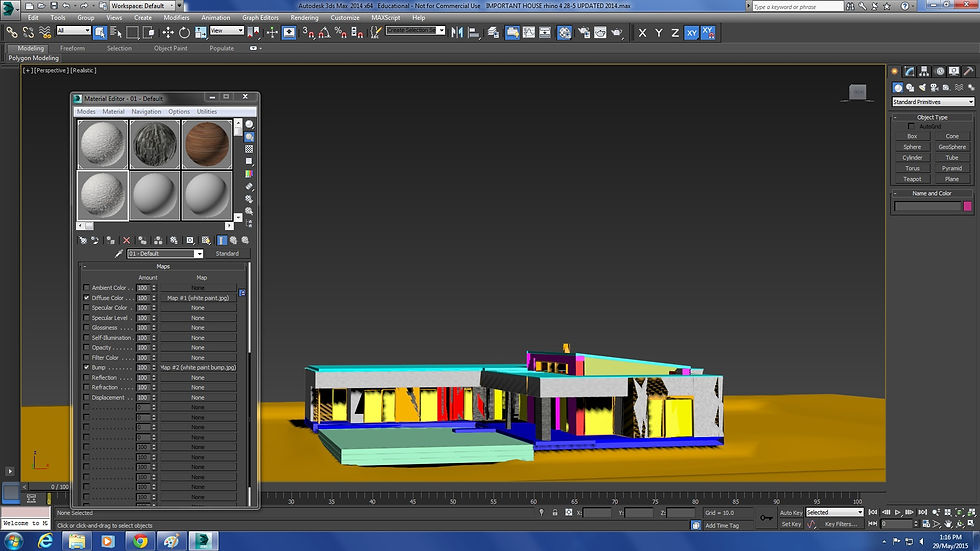


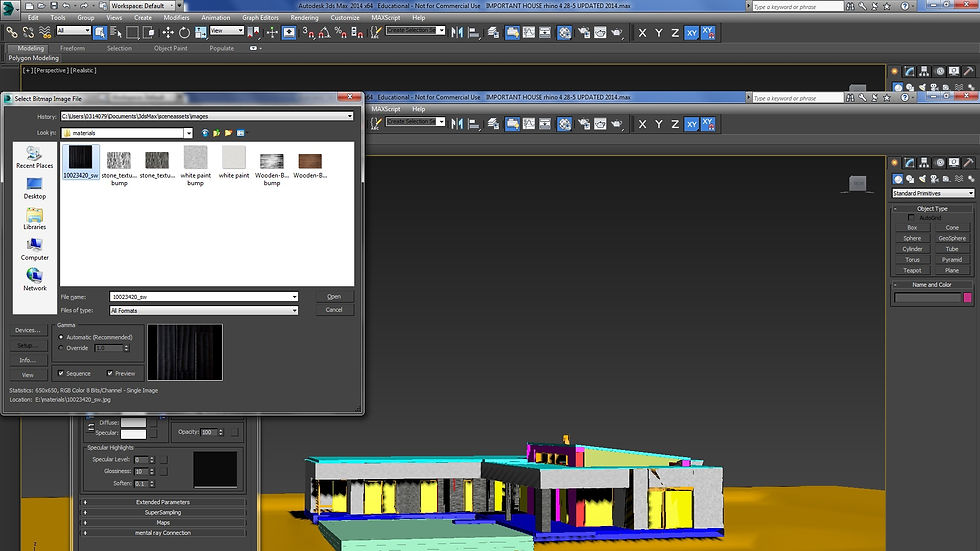


In 3DS MAX, import the file with IGES format.
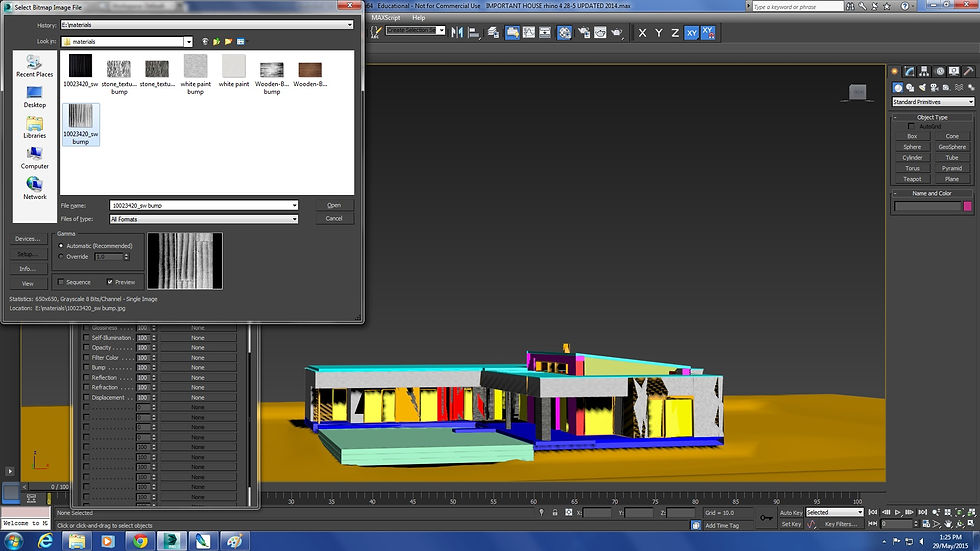
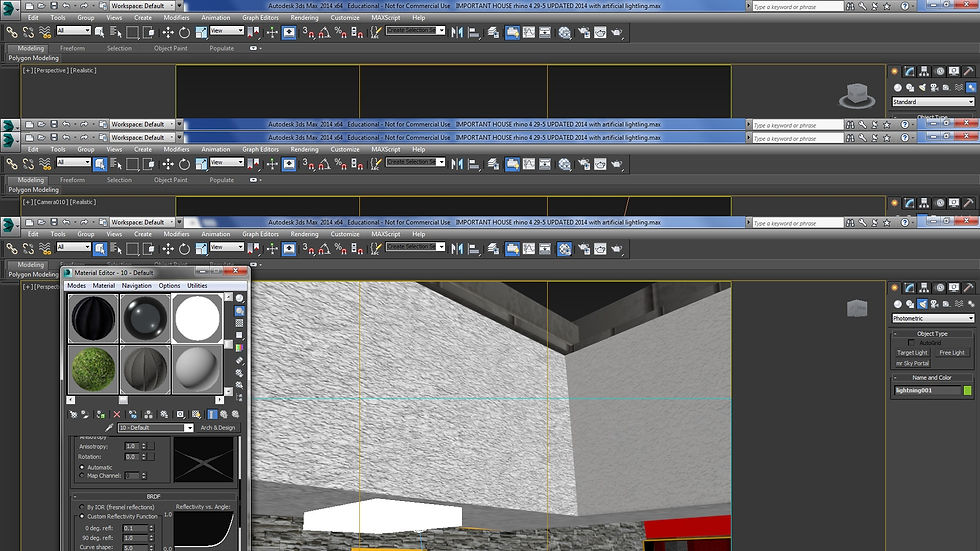
Next, assign the materials you want one by one into the model. To make the materials become more realistic, add in the bump after photoshop it.


After all the rendering assigned, sun and artificial light will create to the best position.
To create an artificial light, material with self glowing will be added.
after all light placed, camera will be create according the perspective.


After the camera set, find the environment in rendering, then set the setting as following picture.
Before rendering, set the safe frame and set camera correction in modifier for proper angle of camera.
After set all these then start render by using camera views.


Eye level view: before photoshop and after photoshop.
Bird-eye level view: before photoshop and after photoshop.


Eye level view
PROJECT 2B INTERIOR RENDERING WORKING PROCESS
Eye level view: livnig room and bedroom.
After the materials and furniture put into the model, the camera will be set up.
Before rendering, set the safe frame and set camera correction in modifier for proper angle of camera.
After set all these then start render by using camera views.


After all the materials and furniture put into the model, the camera will be set up.
Before rendering, set the safe frame and set camera correction in modifier for proper angle of camera.
After set all these, the camera is set for path constraint so the camera movement will follow the path while it move.
For advance, the motion of curtains and furniture can be set by seting the autokey or set key.


WORKING PROCESS
FINAL OUTCOME
THE GARDEN POND MODERN RESIDENCE, HUNGARY BY TOTH PROJECT.
This subject is to introduce the concept and application of architecture visualisation as design and communication tool and develop students' skills in modelling, rendering and animation skills in using software application of 3DS Max and Rhinoceros. Also, to teach the various CG (Computer Graphics) like picture and video editing softwares as aid to enhance the visualisation work.
From all of the projects, I have learnt on the skills of creating a 3-dimensional model in Rhinoceros software and modify the model by adding the materials, lightings, cameras, human figures and site context, using 3DS Max software and enhance the visualisation with photoshop. At the begining of using these software, it is difficult for me to understand and fresh as a beginner because I am quite a slow learner to handle new things. However, thanks to the patience of tutor, Mr Koh in teaching us and the help of peers, I was able to understand the key points in using these softwares step by step. The most difficult part in using these software is to create the animation in 3DS Max as I need to set the animation key such as motion of furniture and set the camera. Besides that, I have to wait the animation rendering for hours in computers. After the animation done, I also learned on the skills of editing video in Sony Vegas by watching Youtube to enhance the quality of animation while adding words and background music.
Although the process of learning process is hard, I was really enjoy it when the outcomes is done even it is not perfect. I will keep learning and practice to skill these software and applied them in the future in my job as an architect.